# Lead Formular Einstellungen

Passe die Lead-Einstellungen zu deinem Profil an.

<figure><img src="/files/o1QCzLpHvN2ckLCKqdYO" alt=""><figcaption></figcaption></figure>

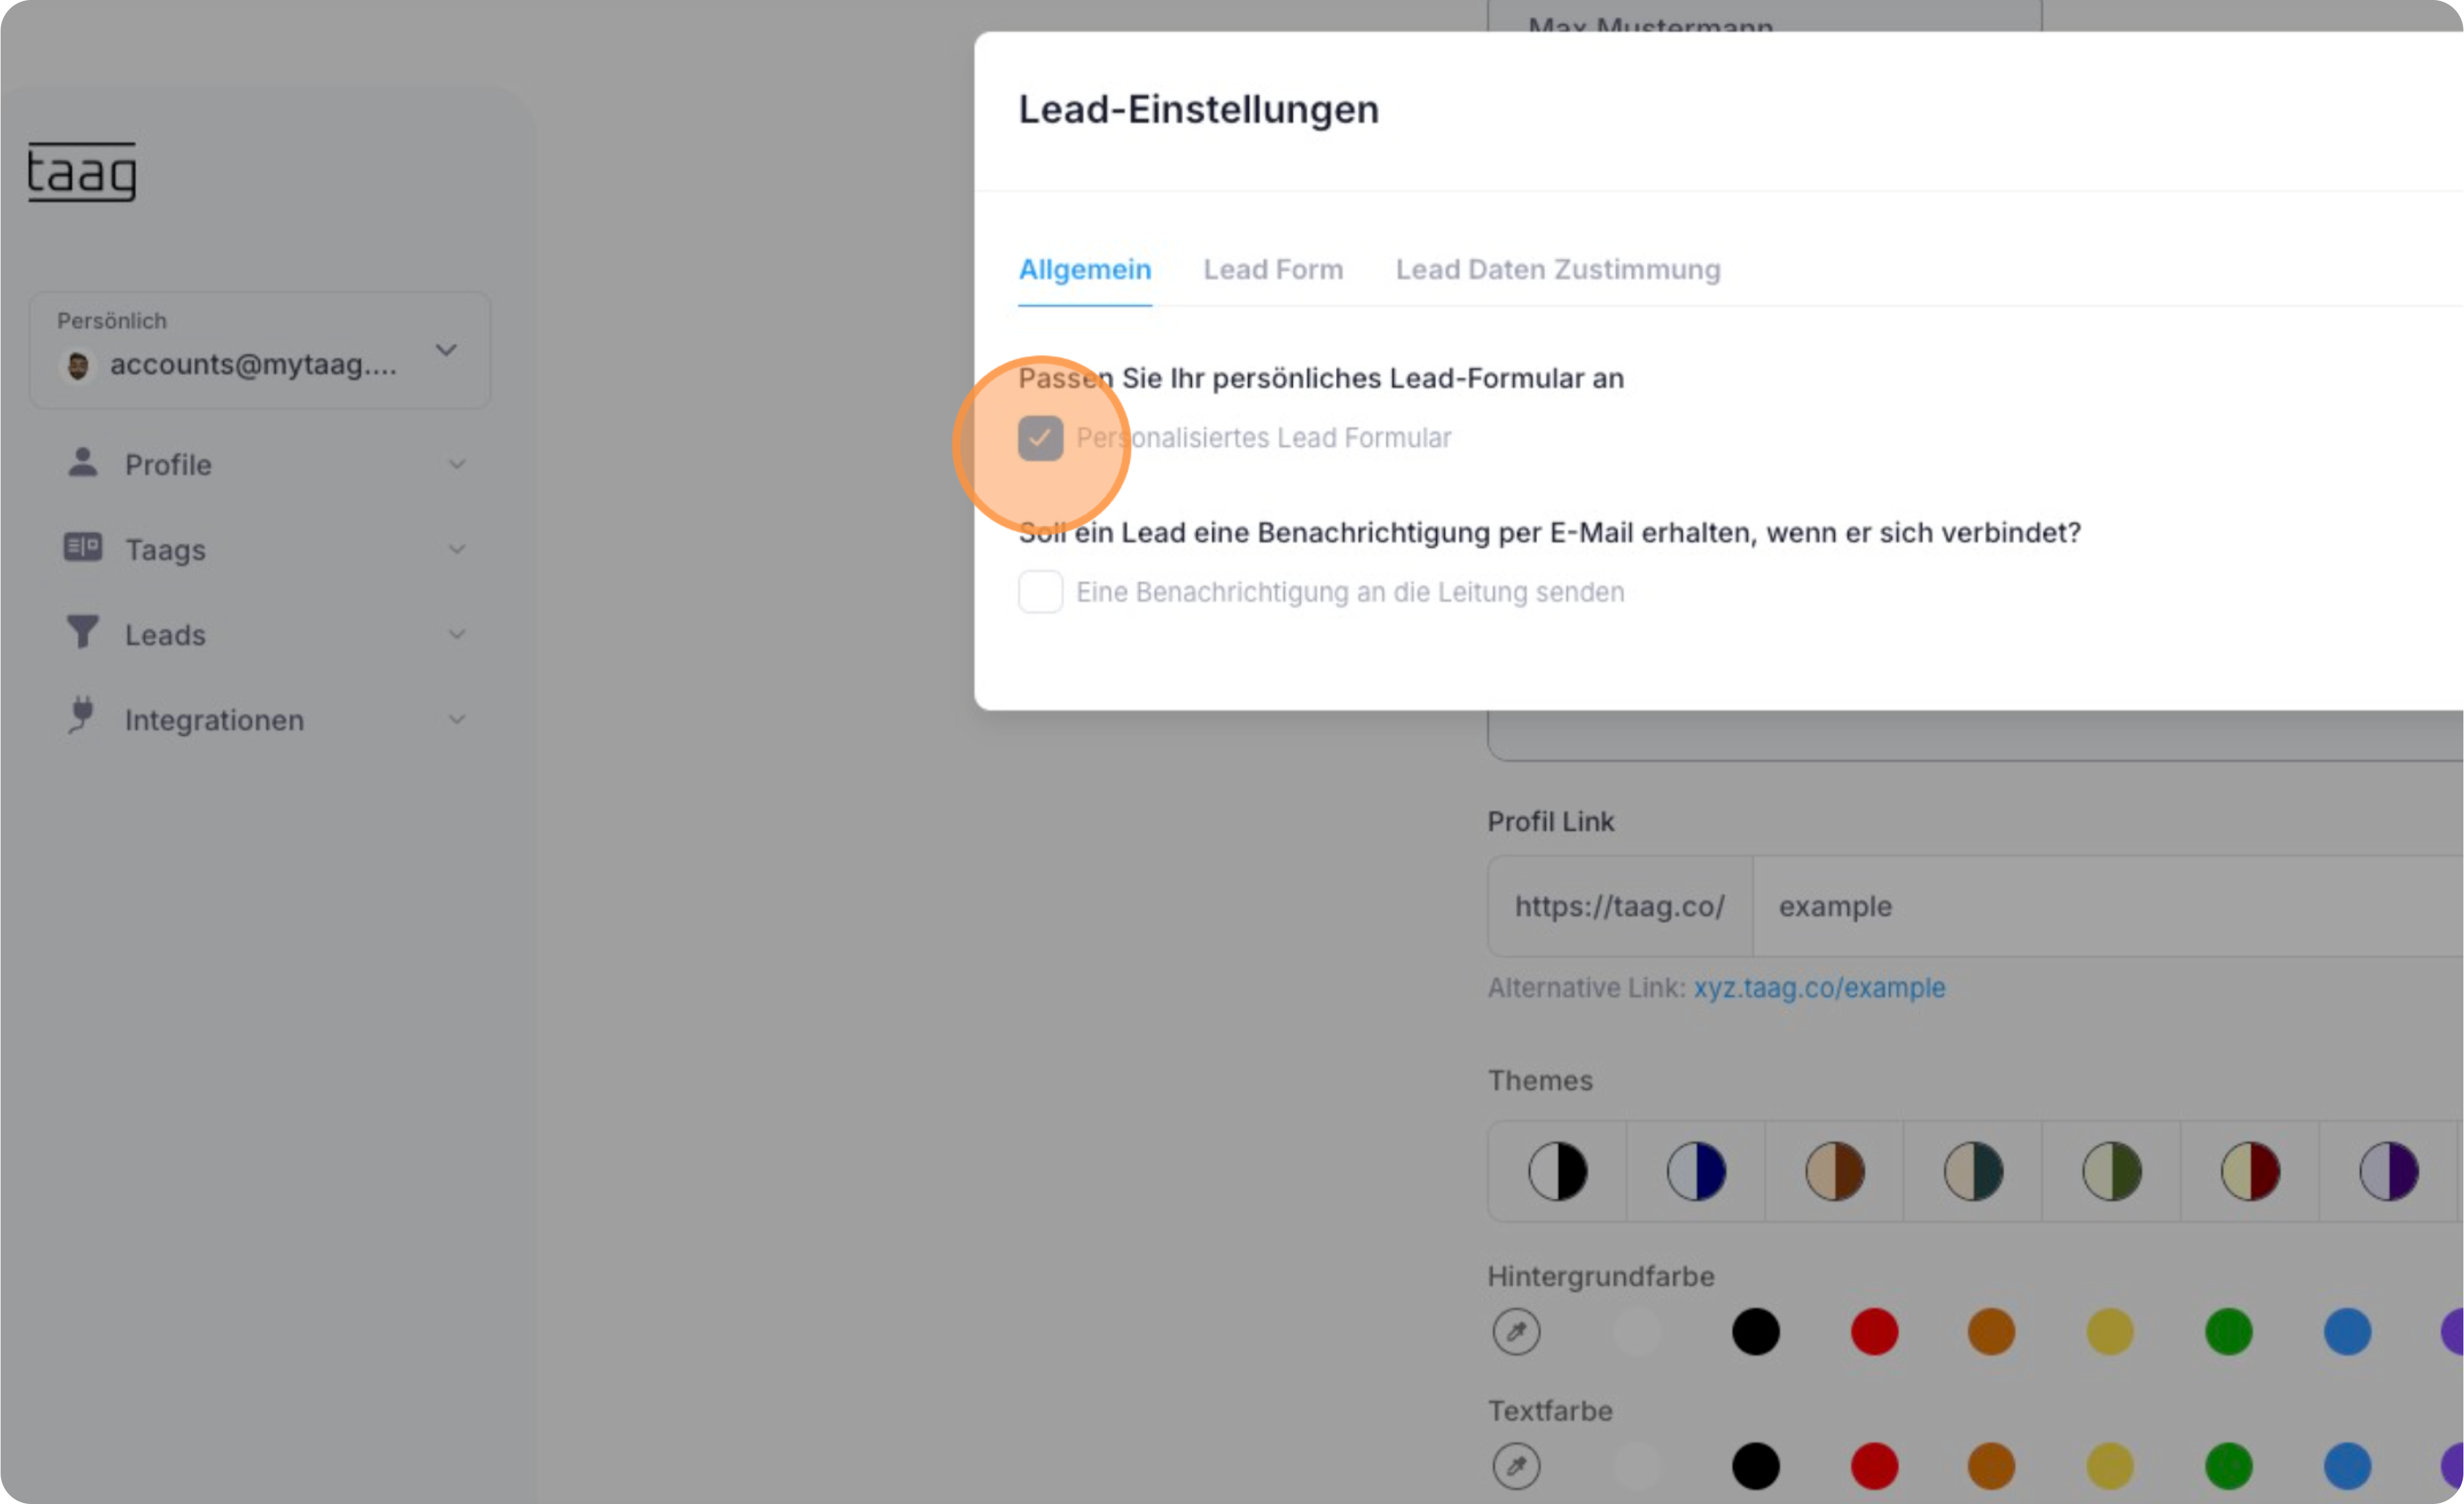
Wähle aus zwischen einem personalisiertem Lead-Formular oder dem standard Lead-Formular.

<figure><img src="/files/cKVP1V1sj2ABEfLGoCdv" alt=""><figcaption></figcaption></figure>

Entscheide ob eine E-Mail Benachrichtigung an das Lead gesendet werden soll oder nicht.

<figure><img src="/files/hvwu0IPjo68vaIfAyYJ1" alt=""><figcaption></figcaption></figure>

Passe hier das individuelle Lead Formular an.

<figure><img src="/files/JVCxn0TwitKAXcqrCSIR" alt=""><figcaption></figcaption></figure>

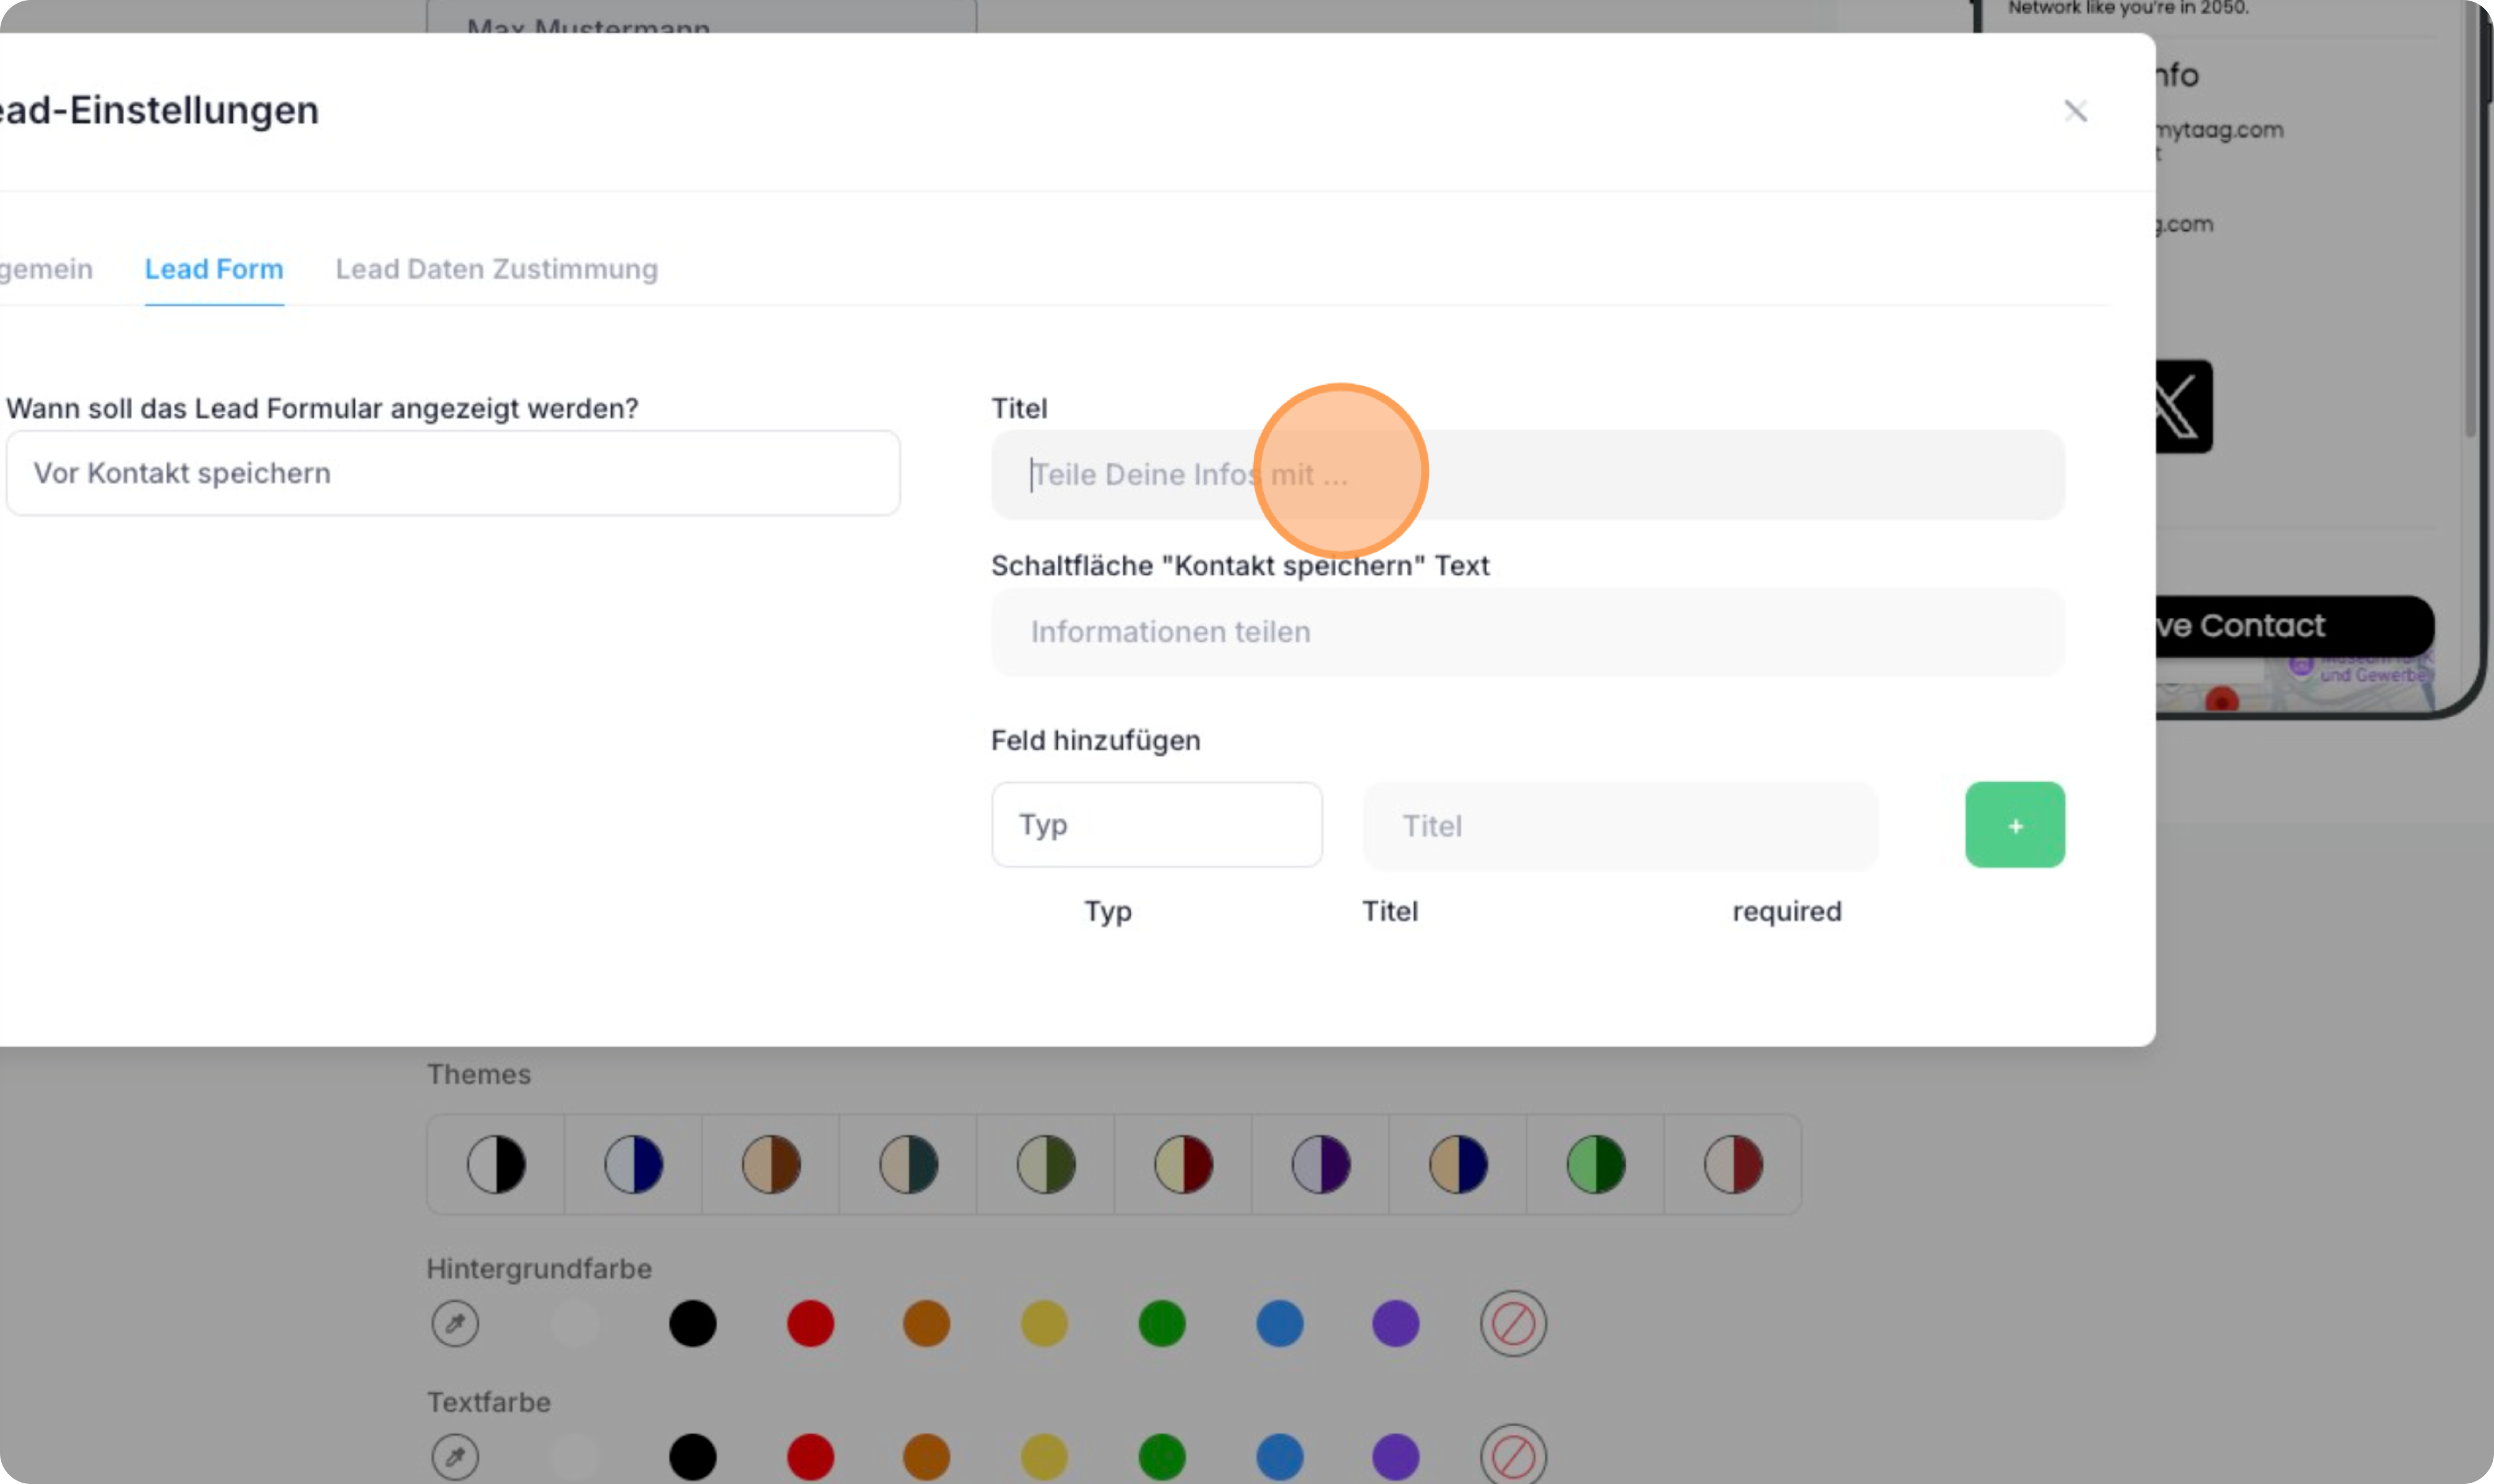
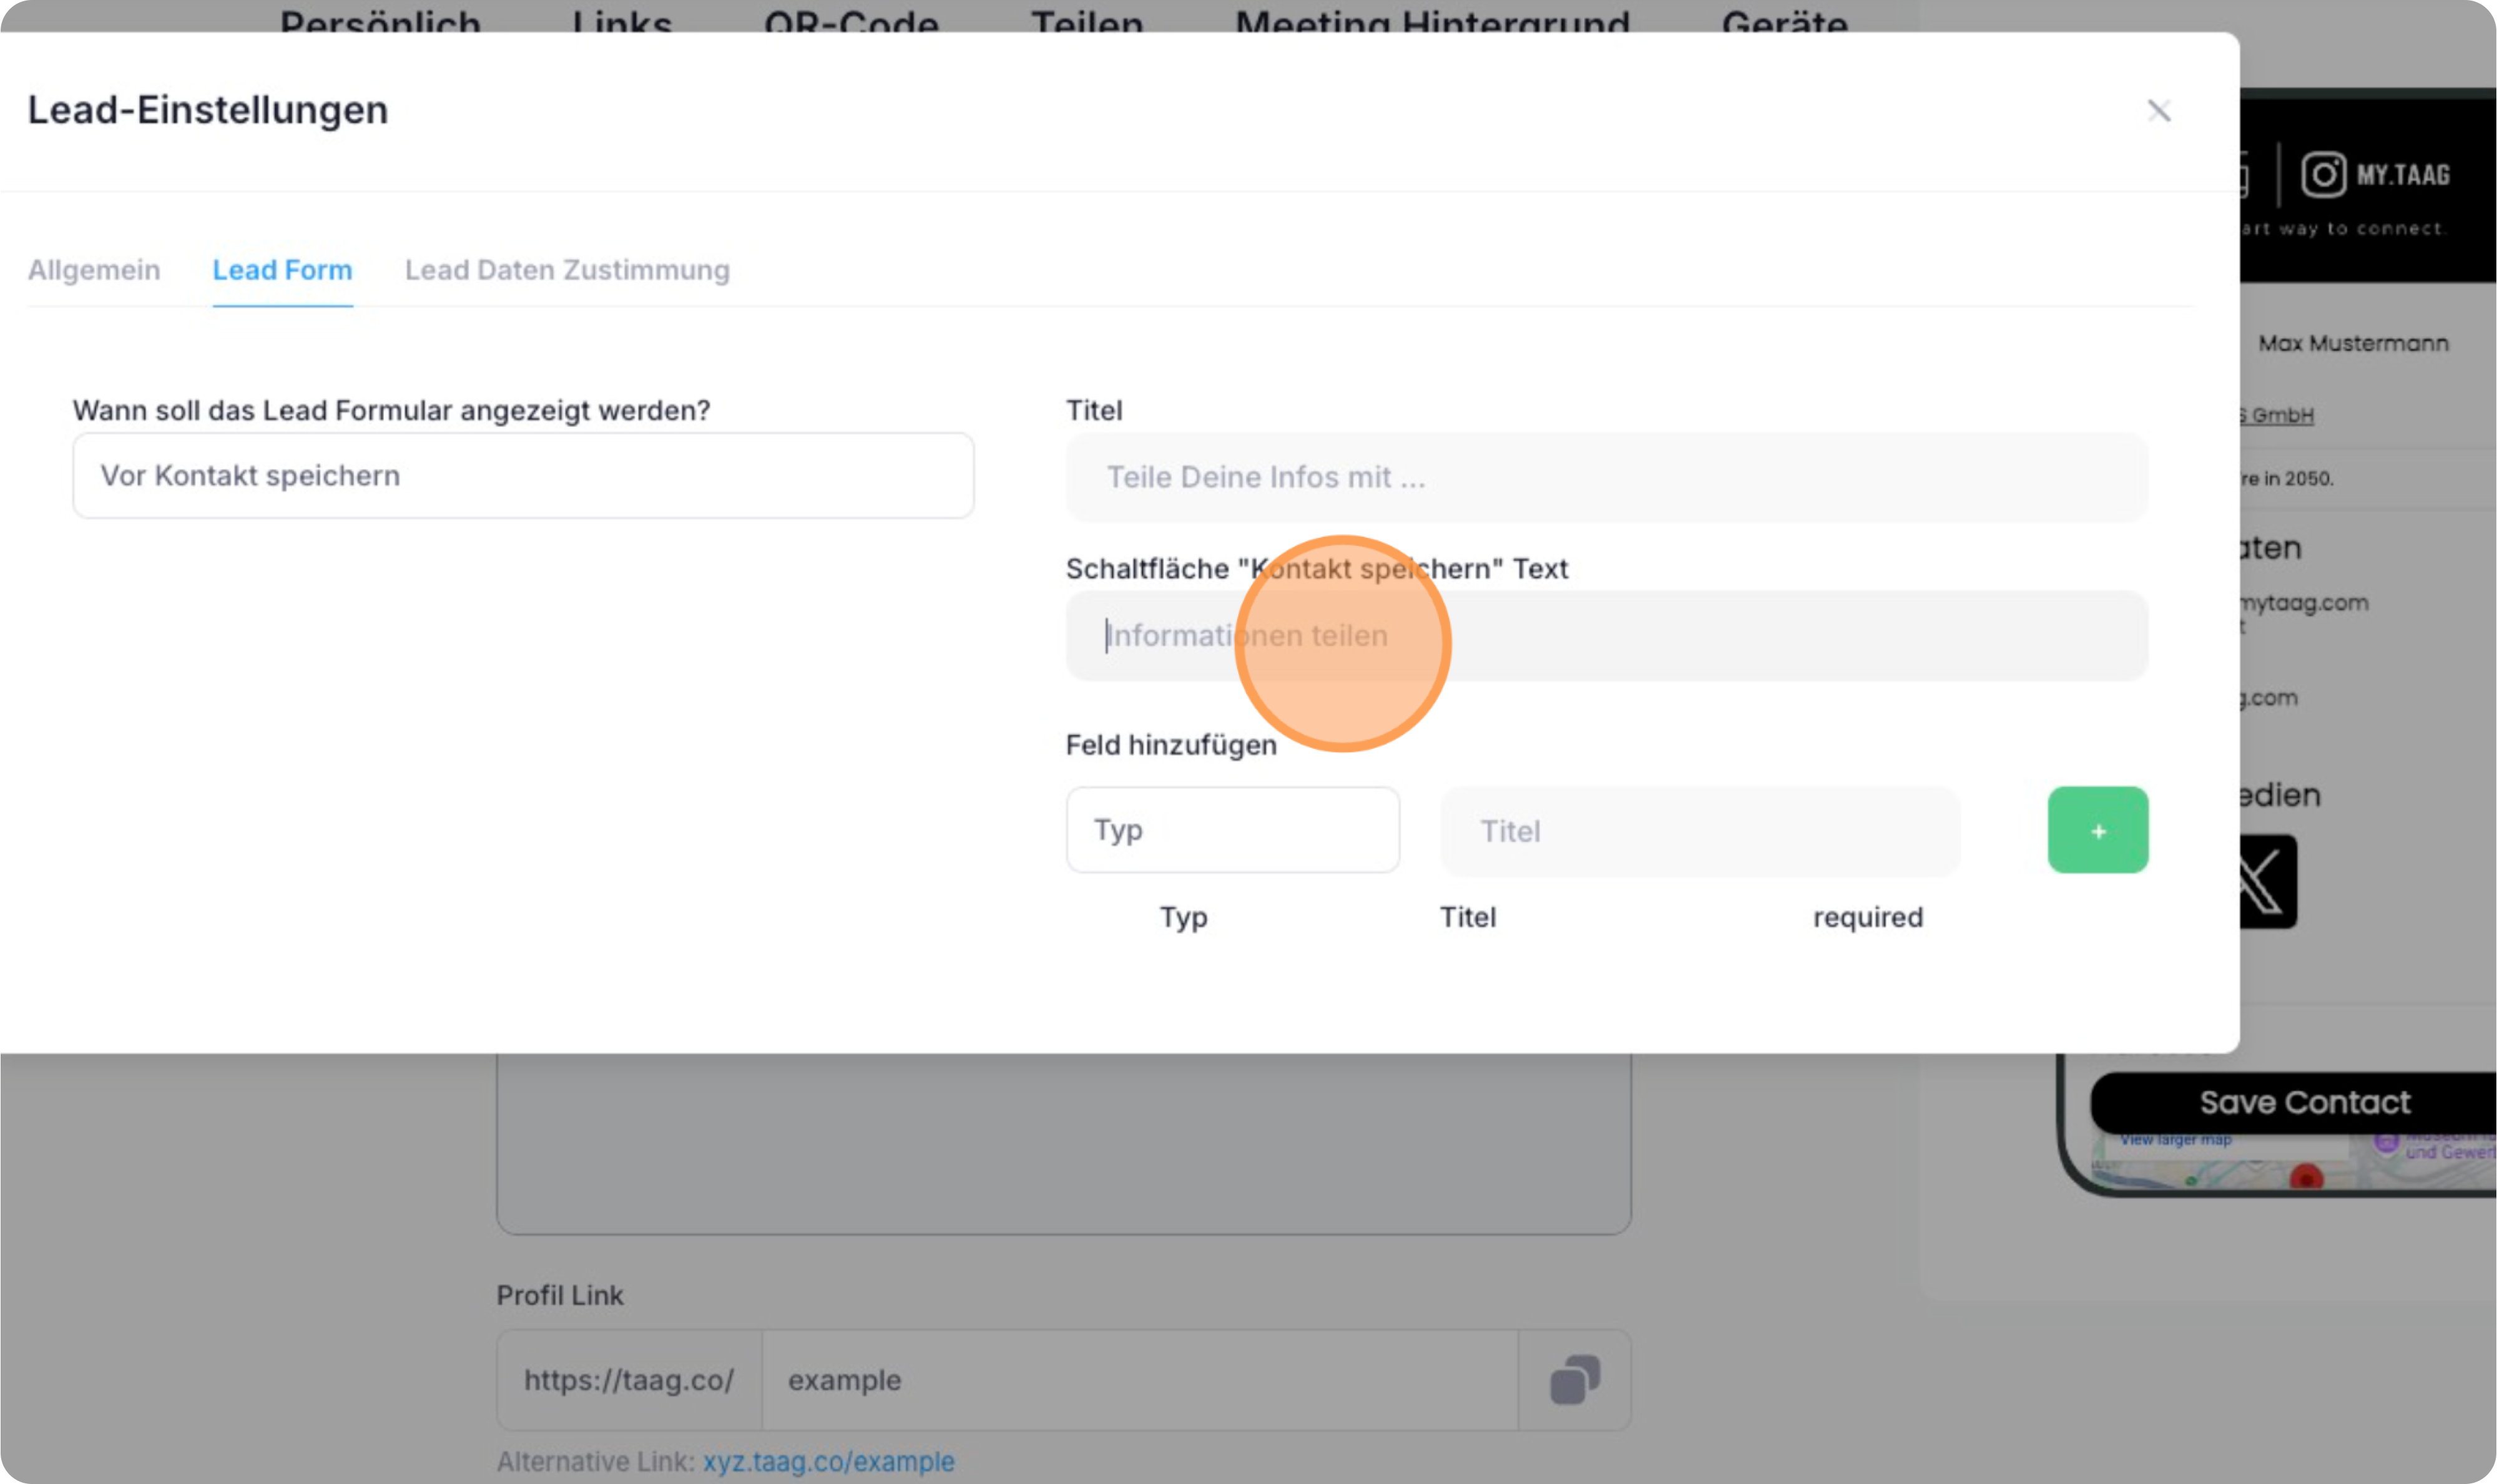
Wähle einen individuellen Text für die "Kontakt speichern" Schaltfläche beim Lead Formular.

<figure><img src="/files/EdgxtoQ7rQAWEZTT6iFj" alt=""><figcaption></figcaption></figure>

Wähle aus wann das Lead Formular angezeigt werden soll.

<figure><img src="/files/ODdTzOJ63X3a1wdX92LR" alt=""><figcaption></figcaption></figure>

Wähle hier den Typ für das Textfeld in dem Lead Formular aus.

<figure><img src="/files/p8GuRNN0CUbjIyAdfN54" alt=""><figcaption></figcaption></figure>

In diesem Beispiel wählen wir "Name"

<figure><img src="/files/a4zKfZ1OVzk3peRROd7t" alt=""><figcaption></figcaption></figure>

Benenne das Feld, damit dein gegenüber weiß was dort einzutragen ist.

<figure><img src="/files/CR8YeImHQiqs11ZBlIiJ" alt=""><figcaption></figcaption></figure>

Tipp: Sei so konkret wie möglich bei der Benennung, damit es nachher nicht zu Verwirrungen oder Missverständnissen kommt!

<figure><img src="/files/1AkMVIQ6rXto7Xyqilzi" alt=""><figcaption></figcaption></figure>

Hier kannst du Einstellungen bezüglich der Dateneinwilligung zur Leaderfassung vornehmen.\
Wenn du diese Checkbox aktivierst, müssen Leads explizit über eine E-Mail einwilligen, dass ihre Daten in MyTaag Web angezeigt werden.

<figure><img src="/files/iSXMS2XZJxbjvzW4WUfC" alt=""><figcaption></figcaption></figure>

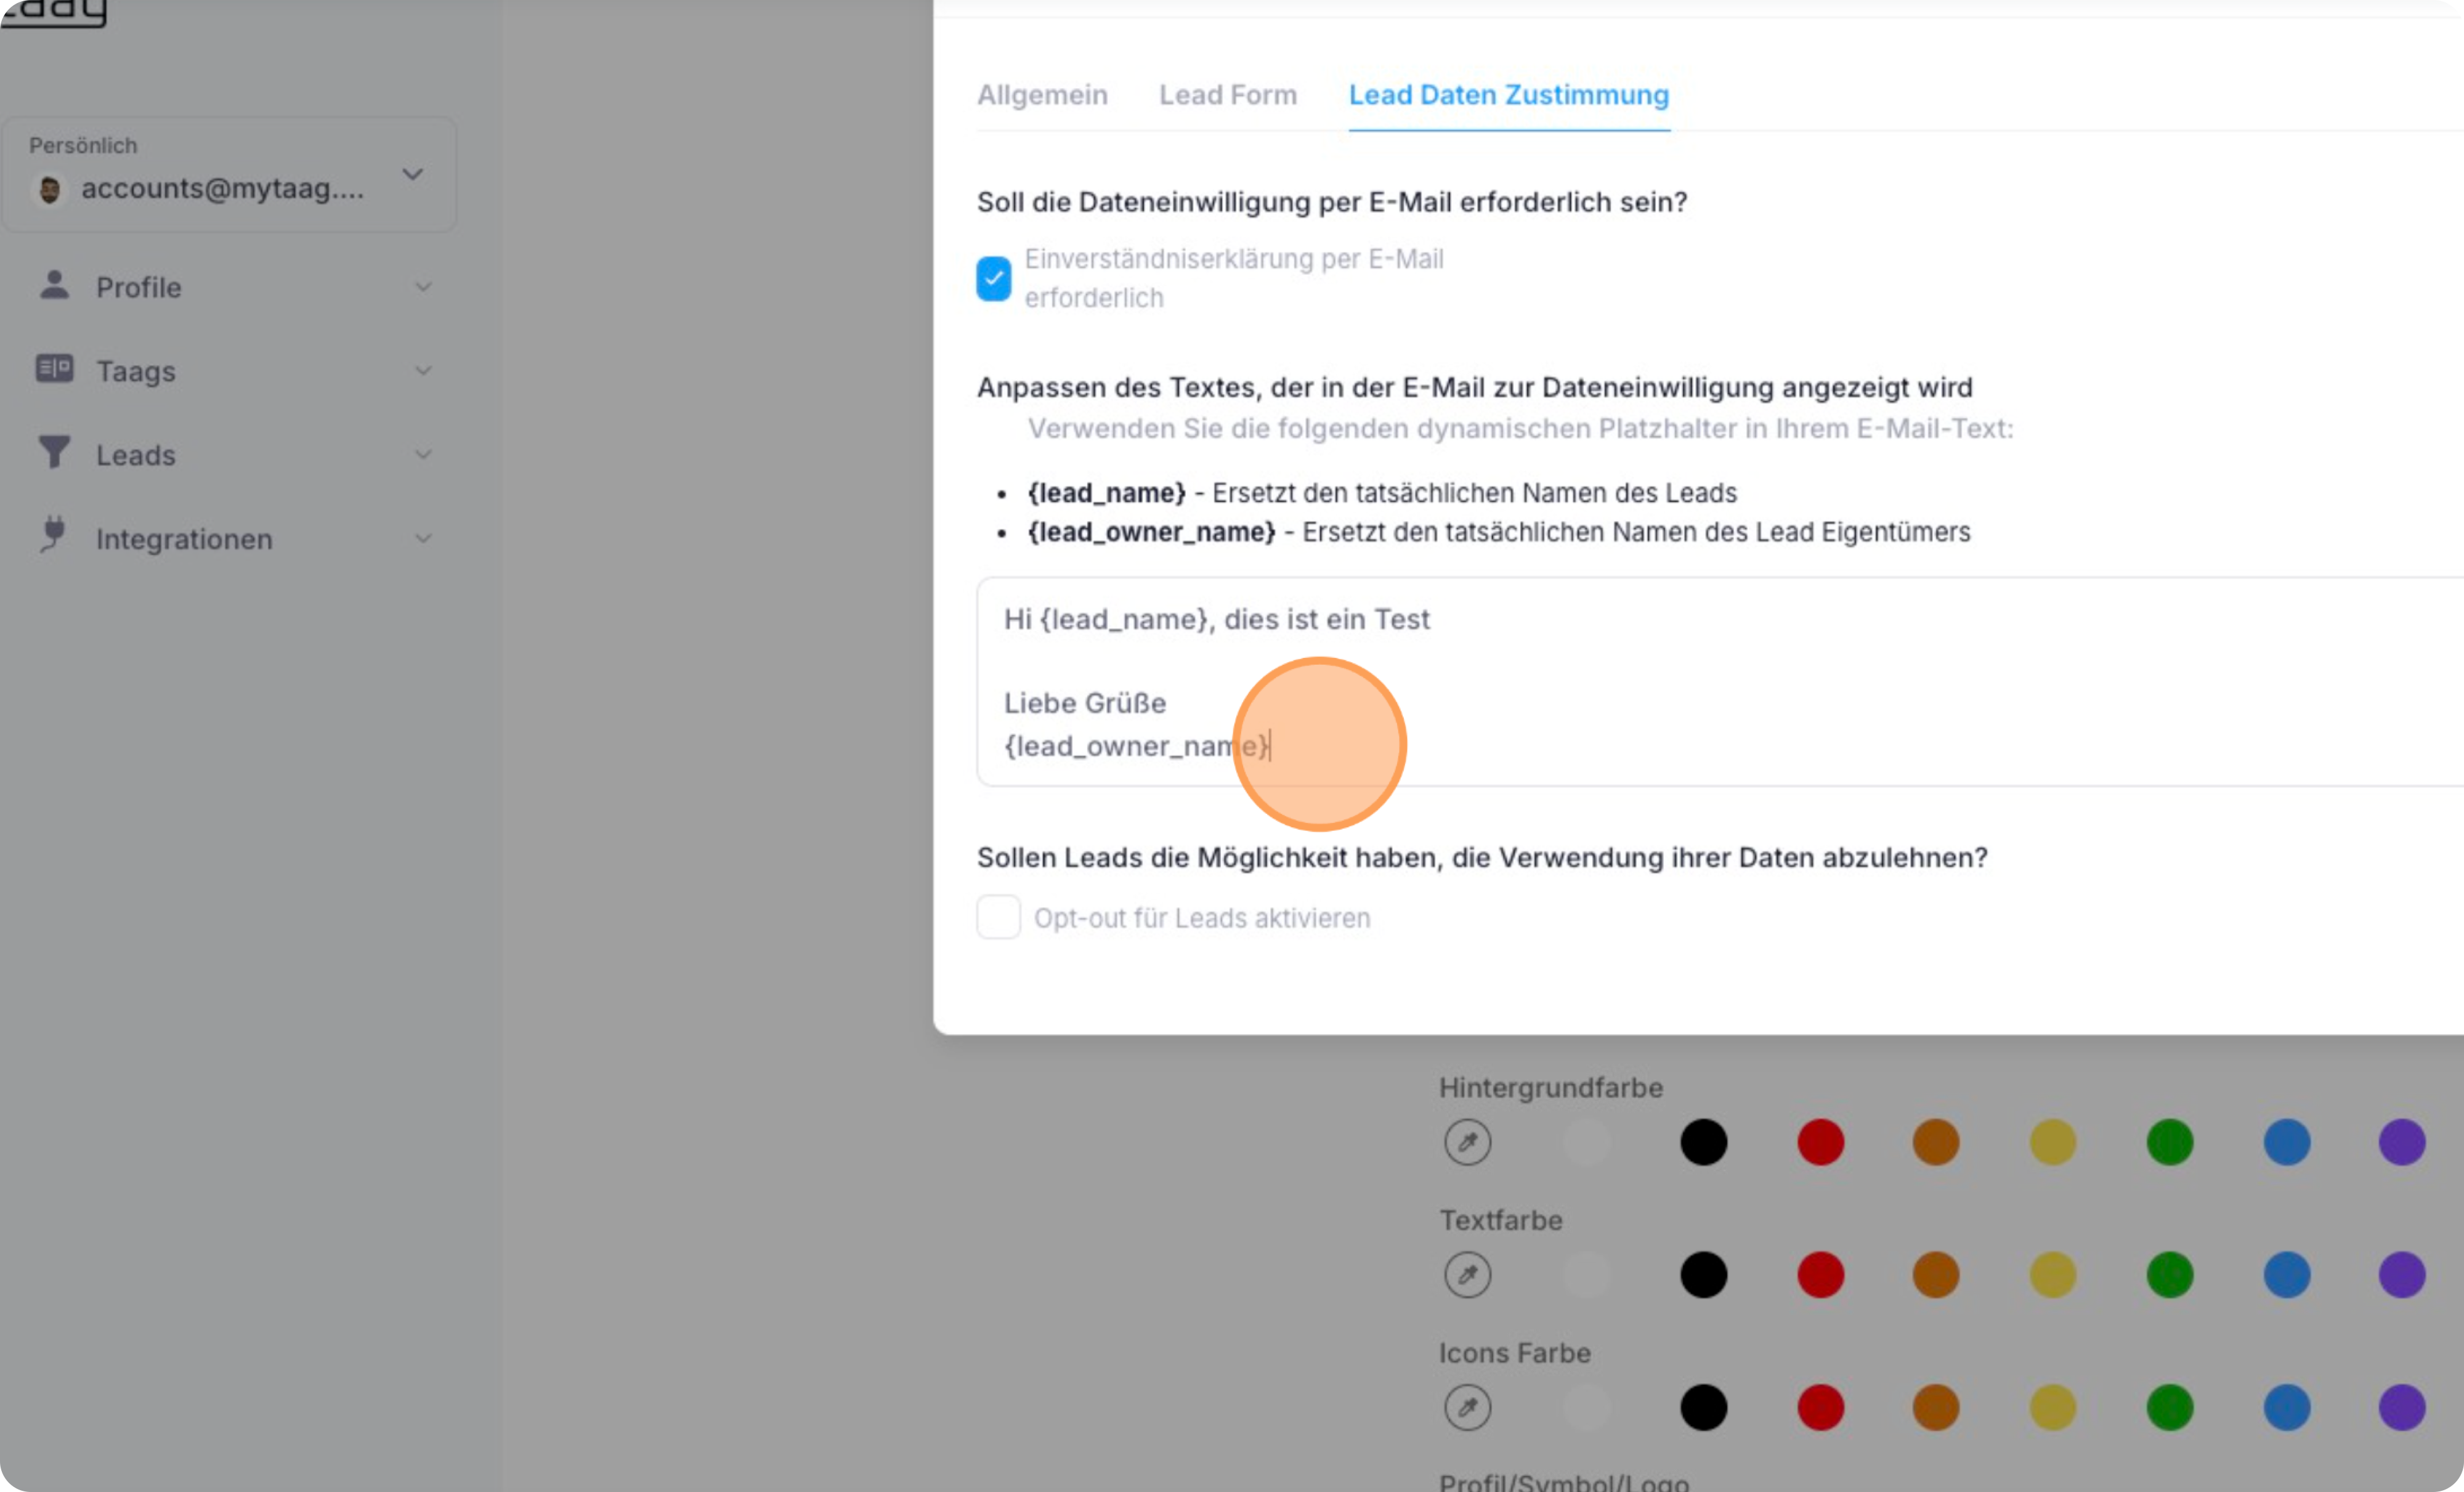
In diesem Textfeld kannst du eine individuelle E-Mail Vorlage verfassen, welche als Information zur Dateneinwilligung an den gegenüber gesendet wird.

<figure><img src="/files/2VuHyLBWHwxFYkB6oF8L" alt=""><figcaption></figcaption></figure>

Tipp: Du kannst "***{lead\_name}***" und "***{lead\_owner\_name}***" als Platzhalter für den **Namen des Leads** und für deinen **eigenen Namen** in der E-Mail verwenden.

So könnte eine fertige Beispiel E-Mail aussehen.

<figure><img src="/files/oAcMHCiYtJ3ze3Cdqevb" alt=""><figcaption></figcaption></figure>

Aktiviere diese Checkbox wenn Leads die Möglichkeit haben sollen die Dateneinwilligung ablehnen zu können.

<figure><img src="/files/38oUoSp0ClLHCUbdWejG" alt=""><figcaption></figcaption></figure>


---

# Agent Instructions: Querying This Documentation

If you need additional information that is not directly available in this page, you can query the documentation dynamically by asking a question.

Perform an HTTP GET request on the current page URL with the `ask` query parameter:

```
GET https://help.taag.co/lead-formular-einstellungen.md?ask=<question>
```

The question should be specific, self-contained, and written in natural language.
The response will contain a direct answer to the question and relevant excerpts and sources from the documentation.

Use this mechanism when the answer is not explicitly present in the current page, you need clarification or additional context, or you want to retrieve related documentation sections.